Spider plants (Chlorophytum comosum) are among the easiest houseplants to care for, making them a favorite for both novice and experienced plant enthusiasts. One of their most appealing features is their ability to propagate with minimal effort. This article will guide you through the steps of propagating your spider plant effectively, ensuring that you can enjoy more of these lovely plants without much hassle.
Understanding Spider Plants
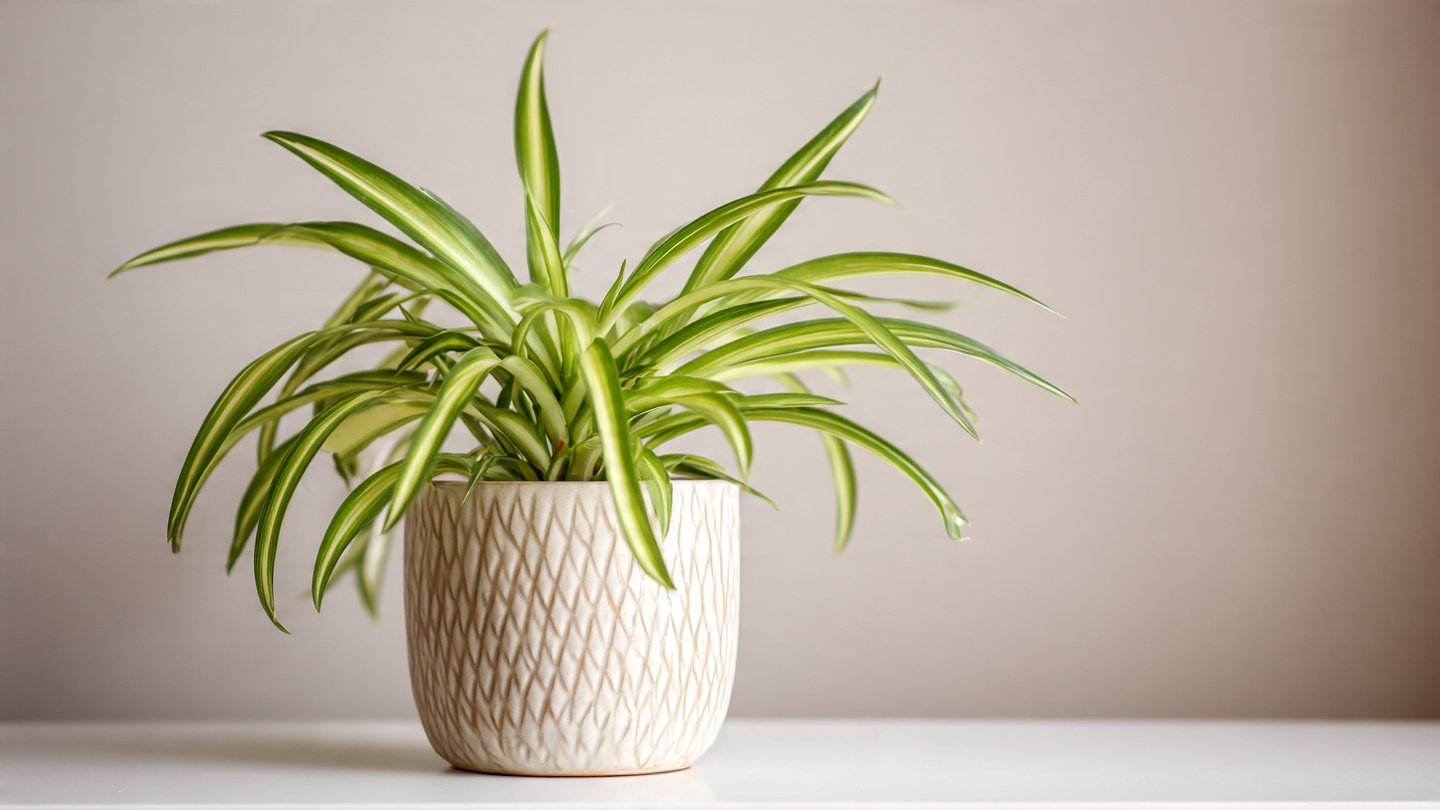
Before diving into propagation, it’s helpful to understand a bit about spider plants. Native to tropical and southern Africa, spider plants thrive in a wide range of conditions. They are known for their long, arching leaves and their ability to produce small plantlets, known as “pups,” that grow on long stems.
These pups are a crucial aspect of propagation, as they can easily be separated from the mother plant to grow new spider plants. Their resilience and adaptability make them perfect for beginners who want to explore plant propagation.
The Basics of Spider Plant Propagation
Propagation can be done in two primary ways: through pups or by division. The pup method is the simplest and most efficient, so we’ll focus on that. Here’s a step-by-step guide to make your spider plant the easiest plant to propagate.
Step 1: Identify Ideal Conditions
To ensure successful propagation, begin by creating optimal conditions:
- Light: Place your spider plant in bright, indirect sunlight. Too much direct sunlight can scorch the leaves.
- Water: Keep the soil moist but not soggy. Watering when the top inch of soil feels dry is generally a good guideline.
- Temperature: Spider plants prefer temperatures between 65°F to 75°F (18°C to 24°C).
Step 2: Wait for Pups to Form
Once your spider plant is in a suitable environment, it will begin to produce pups. These small plantlets will appear at the end of long stems, usually in the spring or summer. Each pup will develop its root system that can sustain itself once separated.
Step 3: Prepare for Separation
Once the pups have grown a few inches long and have visible roots, it’s time to separate them. Carefully observe the connection point where the pup meets the mother plant. You can use pruning shears or scissors for a clean cut.
Step 4: Potting the Pups
Prepare a small pot with fresh potting mix, ideally one formulated for houseplants. Create a small indentation in the center. Gently remove the pup from the stem and place it in the pot, covering the roots with soil. Water it lightly to help the plant establish in its new environment.
Step 5: Care After Propagation
After potting, it’s essential to care for your new spider plant pups:
- Humidity: Spider plants enjoy humidity, so consider misting the leaves or placing a humidity tray nearby.
- Light: Provide bright, indirect sunlight to encourage growth.
- Water: Water regularly, allowing the soil to dry slightly between watering.
Alternative Method: Dividing the Plant
If you have a larger spider plant, you might consider dividing it into multiple sections to propagate more plants at once. Here’s how to do it:
Step 1: Remove the Plant
Carefully take the spider plant out of its pot. Shake off the excess soil to expose the roots.
Step 2: Separate the Roots
Look for natural dividing points in the root mass. Use a clean, sharp knife to divide the plant into two or more sections, ensuring each section has some roots attached.
Step 3: Re-pot the Divisions
Just like with pups, pot the divisions into fresh soil. Water them lightly and provide the same level of care as described earlier.
Common Challenges in Propagation
Even though spider plants are generally easy to propagate, some challenges may arise:
- Root Rot: Overwatering can lead to root rot. Ensure your pot has drainage holes.
- Lack of Growth: If your pups are not taking off, check the light and water conditions.
Conclusion
Propagating spider plants is an effortless process that can lead to a thriving collection of these beautiful houseplants. By understanding their growth patterns and caring for them adequately, you can enjoy the satisfaction of growing new plants from the ones you already have. Spider plants not only enhance the aesthetics of your home but are also excellent air purifiers. Give propagation a try, and soon you’ll find yourself with an easy, low-maintenance plant collection that continues to grow!
FAQs
1. How often should I water my spider plant during propagation?
Water the newly potted pups lightly, allowing the top inch of soil to dry out before watering again. Overwatering can lead to root rot.
2. Can I propagate a spider plant in water?
While spider plant pups can be rooted in water, it’s often more effective to pot them directly in soil for better growth.
3. How many pups can a single spider plant produce?
A healthy spider plant can produce numerous pups throughout the growing season, often leading to a robust supply for propagation.
4. Should I fertilize my spider plant after propagation?
Wait a few weeks after potting the pups before fertilizing to avoid overloading their new roots. A balanced, water-soluble fertilizer is ideal once they’re established.
5. What time of year is best for spider plant propagation?
Spring and summer are the best times for propagation as spider plants grow more actively during these warmer months.