Why Grow Bean Sprouts at Home?
Bean sprouts are ideal for homegrown vegetables because they are:
- Ultra-fast-growing: Ready to eat in days, not weeks or months.
- Space-efficient: You don’t need soil or a large garden — just a jar or tray.
- Economical: A small amount of seeds produces a large yield, saving money.
- Nutrient-rich: Packed with fiber, vitamin C, and enzymes created during germination.
By growing sprouts at home, you get fresh, safe, and flavorful vegetables whenever you need them. Unlike store-bought sprouts, homegrown ones are less likely to contain preservatives or contaminants if you follow proper care. (knorr.com)
How Super Fast Sprouting Works
The key to rapid sprouting is creating the optimal environment for seeds to germinate. Bean sprouts grow fastest when they:
- Are kept moist but not waterlogged
- Are stored in darkness
- Have good airflow to prevent mold
Regular rinsing and proper drainage are critical. By following these principles, you can achieve sprouts that are edible and fresh in just 2 days, instead of waiting the typical 3–5 days. (homesandgardens.com)
Materials Needed
You don’t need a garden, soil, or special equipment — just a few simple items:
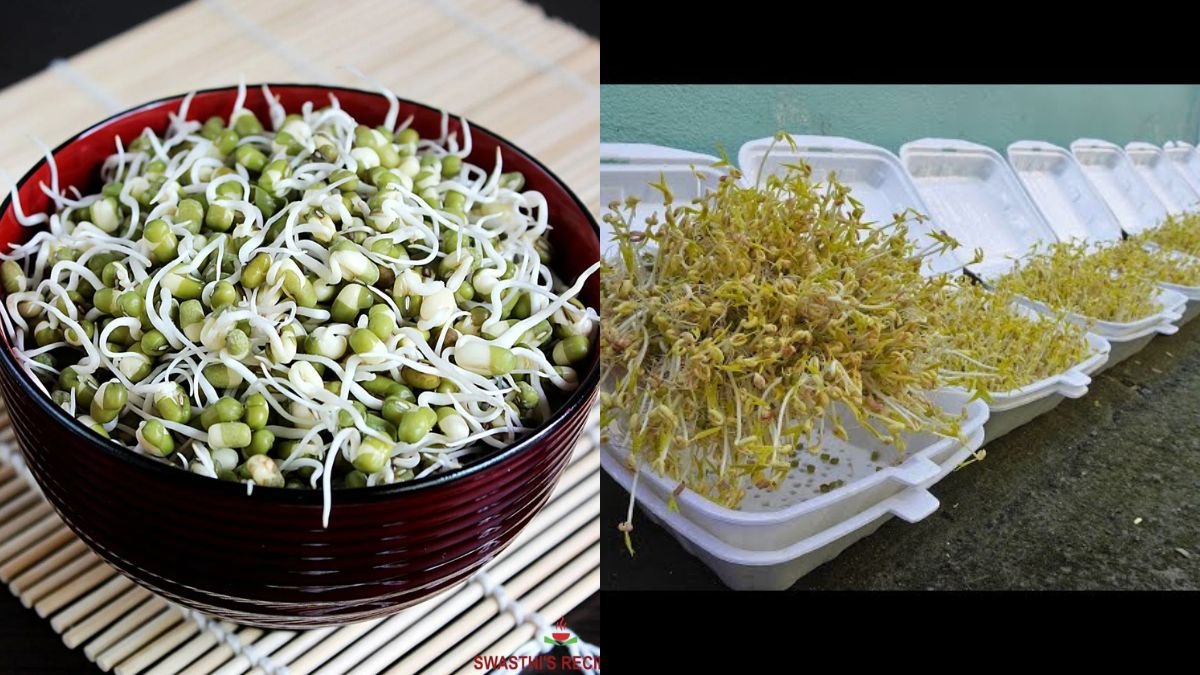
- Mung beans or other sprouting beans (whole and untreated)
- A glass jar, sprouting tray, or container
- Clean water for rinsing
- A cloth or mesh lid for airflow and drainage
Step-by-Step: Harvest Bean Sprouts in 2 Days
Follow these steps for a super fast harvest:
1. Choose Quality Beans
Select fresh, whole mung beans or lentils. Beans that are too old may sprout slowly or unevenly. Fresh seeds maximize germination speed. (knorr.com)
2. Soak Overnight
Place 1/4 cup of beans in a jar and cover with clean water. Let them soak 8–12 hours at room temperature. Soaking activates germination and softens the seed coat for faster sprouting.
3. Drain and Rinse
After soaking, drain the water and rinse the beans thoroughly with fresh water. Ensure the jar is tilted so excess water drains out — this prevents soggy conditions that slow growth or encourage mold.
4. Keep the Jar in Darkness
Store the jar in a dark place such as a cupboard or pantry. Darkness encourages rapid growth without developing bitter flavors.
5. Rinse and Drain Regularly
Rinse and drain the beans at least twice a day. Regular rinsing keeps them moist while avoiding stagnation, which is essential for rapid sprouting.
Tip: Use a cheesecloth or sprouting lid to improve airflow and drainage. (slurrp.com)
Day-by-Day Timeline for Super Fast Sprouts
| Day | What Happens |
|---|---|
| 0 | Beans soak overnight, activating germination. |
| 1 | Tiny roots begin to emerge; first signs of sprouts visible. |
| 2 | Sprouts have grown enough to be harvested for early consumption. |
| 3+ | Sprouts thicken and lengthen for longer, crunchier results. |
With consistent rinsing and a warm environment, you can enjoy edible sprouts in as little as 2 days. (homesandgardens.com)
Tips to Maximize Speed and Quality
- Maintain Clean Water: Always use fresh, clean water for rinsing to avoid bacteria and mold. (slurrp.com)
- Avoid Sunlight: Keep sprouts in darkness until they are ready to harvest; sunlight slows growth and can make sprouts bitter. (homesandgardens.com)
- Tilt the Jar: Position the jar at an angle to allow proper drainage and airflow, preventing water accumulation. (knorr.com)
- Control Temperature: A stable room temperature of 20–22°C (68–72°F) ensures the beans sprout quickly. Too cold or too hot can delay growth. (homesandgardens.com)
Safety Precautions
- Cleanliness is key: Always use a clean jar and utensils.
- Avoid soggy sprouts: Poor drainage can lead to mold growth.
- Discard questionable sprouts: If your sprouts smell bad or appear slimy, throw them out and start again.
Following these precautions ensures your sprouts are safe, fresh, and healthy. (slurrp.com)
How to Use Your Bean Sprouts
Super-fast bean sprouts are incredibly versatile:
- Salads: Add a crunchy, fresh texture.
- Stir-fries: Toss at the end of cooking for nutrients and crunch.
- Sandwiches or Wraps: Layer fresh sprouts for flavor and vitamins.
- Smoothies: Blend into green drinks for fiber and enzymes.
Benefits of Homegrown Sprouts
- Time-saving: Harvest within 2 days.
- Cost-efficient: Small amounts of seeds produce large yields.
- Space-saving: No soil, no garden, just a jar.
- Nutritional: Fresh sprouts are richer in vitamins than pre-packaged ones.
Recommended Sources
- Knorr – How to Grow Bean Sprouts at Home: Detailed step-by-step guide for beginners. (knorr.com)
- Homes & Gardens – Grow Your Own Bean Sprouts: Explains timelines, storage, and safety. (homesandgardens.com)
- Slurrp – Sprouting 101: Techniques for different types of seeds and beans. (slurrp.com)
- One Green Planet – Quick Sprout Methods: Maximizing growth and nutrition in minimal time. (onegreenplanet.org)
Final Thoughts
Bean sprouts are one of the fastest and most rewarding homegrown vegetables. By following these simple steps — soaking, rinsing, draining, and storing in darkness — you can enjoy fresh, crunchy sprouts in as little as 2 days.
No garden? No problem. All you need is a jar, clean water, and a few sprouting beans to start your super-fast bean sprout journey today. Enjoy fresh, nutrient-packed vegetables straight from your kitchen — and save time, money, and effort along the way.