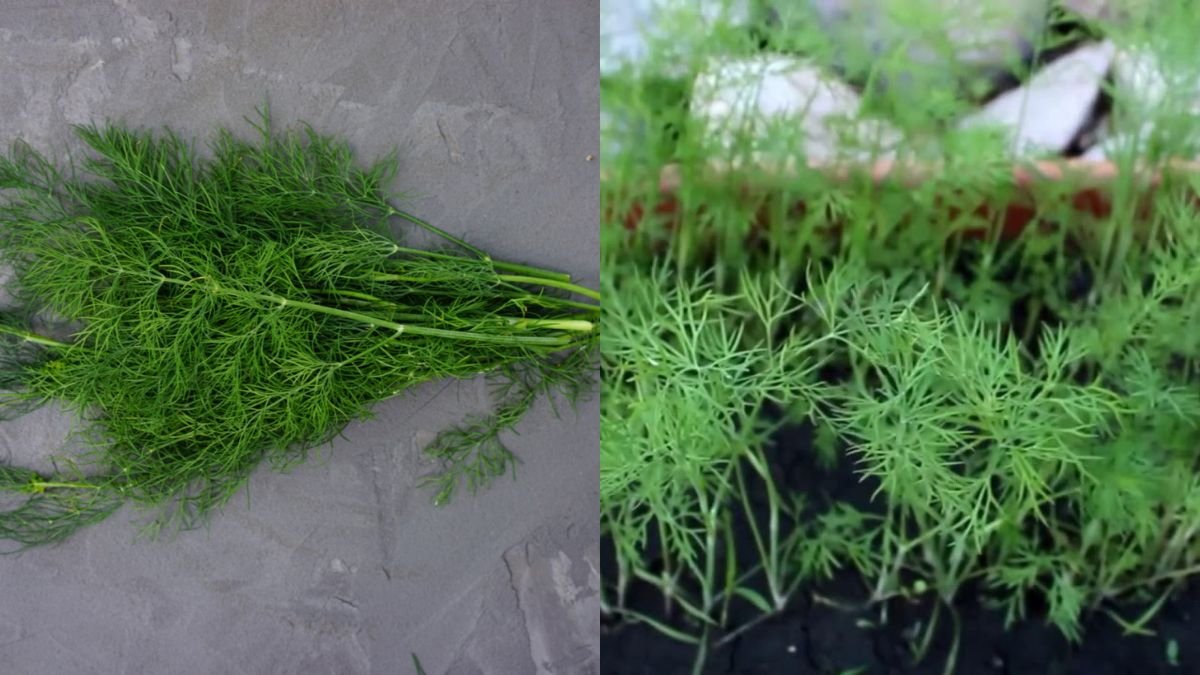
Dill (Anethum graveolens) is one of the most aromatic and versatile herbs you can grow at home. Its feathery leaves and delicate flavor enhance salads, pickles, fish dishes, soups, and sauces. Many home gardeners wonder: “Is it possible to grow and harvest dill in just one month?”
The answer is yes — with the right techniques, you can have fresh dill leaves ready to use in about four weeks. While dill usually takes six to eight weeks to fully mature, proper care, soil preparation, watering, sunlight, and harvesting methods can accelerate growth. This guide provides easy and effective tips to help you grow and harvest dill quickly, even if you are a beginner. (rhs.org.uk)
Why Growing Dill Fast Is Worth It
Growing dill at home quickly has several advantages:
- Flavor and freshness: Homegrown dill has a stronger aroma and flavor than store-bought herbs.
- Quick results: Within a month, you can enjoy your first harvest.
- Continuous supply: Successional sowing allows you to maintain fresh leaves throughout the season.
- Small-space gardening: Dill grows well in containers, making it ideal for balconies or windowsills.
- Health benefits: Fresh dill is rich in antioxidants, vitamins, and minerals.
Because dill grows quickly in favorable conditions, it’s perfect for beginners and busy gardeners who want instant satisfaction and a continuous supply of fresh herbs. (almanac.com)
Step 1: Choose the Right Location and Soil
Dill thrives in full sunlight, needing at least 6–8 hours of direct light daily. Light is critical for healthy, compact leaves and rapid growth. In hot climates, some afternoon shade can prevent premature flowering, which can slow leaf production. (florathen.com)
Soil requirements:
- Use well-draining soil to prevent root rot.
- Mix garden soil with compost, perlite, or sand to improve aeration and fertility.
- Dill prefers slightly acidic to neutral soil with a pH of 6.0–7.0, which maximizes nutrient absorption. (mattmagnusson.com)
Container gardening is highly effective for quick growth. Choose a deep pot with drainage holes, filled with a nutrient-rich potting mix. Containers also allow you to move the plant to optimize sunlight or protect it from extreme weather. (extension.umn.edu)
Step 2: Sow Seeds Correctly for Fast Germination
Direct sowing: Plant dill seeds ¼ inch deep in prepared soil. Seeds germinate within 10–14 days if the soil remains warm and moist.
Successional sowing: For a continuous supply, sow small batches every 2–3 weeks. This ensures that as one group matures, the next begins to grow, giving you fresh leaves throughout the season. (rhs.org.uk)
When growing in containers indoors, place pots near south-facing windows or provide supplemental grow lights to ensure seedlings get enough energy to develop quickly. (extension.umn.edu)
Step 3: Water Consistently
Dill grows fastest when the soil is evenly moist but not soggy. Overwatering can lead to root rot, while underwatering slows growth. Water at the base of the plant rather than over the leaves to reduce the risk of fungal disease.
Check the top inch of soil daily: if dry, water gently. In hot climates or for container plants, you may need to water daily to maintain consistent moisture. (gardencare.org)
Step 4: Thin Seedlings for Optimal Growth
When seedlings reach a few inches tall, thin them to 8–12 inches apart. Crowded plants compete for sunlight, nutrients, and water, resulting in spindly growth. Proper spacing allows air circulation and vigorous leaf development, which is essential for a one-month harvest. (simplifyplants.com)
Thinning early also helps prevent diseases caused by poor airflow and increases the overall health and productivity of the plants.
Step 5: Harvest Smartly
You can start harvesting dill when plants are 6–8 inches tall, which often occurs within one month under favorable conditions.
Harvesting tips:
- Pick leaves from the outer stems to encourage new growth.
- Leave at least one-third of the plant intact to continue producing.
- Harvest in the morning after dew dries for maximum aroma and flavor. (thespruce.com)
Regular harvesting encourages bushy growth and delays flowering (bolting), extending your harvest window. (cultivatedearth.com)
Step 6: Prevent Bolting
Dill is prone to bolting in hot or dry conditions, which slows leaf production. To delay flowering:
- Keep soil evenly moist.
- Provide partial shade during extreme heat.
- Harvest regularly to prevent the plant from focusing energy on flowering. (gardencare.org)
Mulching around the base helps retain soil moisture and keeps the roots cooler, which also promotes leaf growth.
Step 7: Fertilize Lightly
Dill does not require heavy fertilization, but a light feeding every 2–3 weeks can boost growth. Use organic fertilizers like compost tea or a balanced slow-release fertilizer. Avoid excessive nitrogen, which can produce soft leaves with less flavor.
Step 8: Manage Pests and Problems
Dill is generally low-maintenance but can attract aphids, caterpillars, or fungal issues. Tips to prevent these problems:
- Ensure proper spacing for airflow.
- Use companion plants like basil or parsley to deter pests.
- Apply organic sprays like neem oil or insecticidal soap if needed. (florathen.com)
Leggy growth is often a sign of insufficient light. Ensure indoor plants get adequate sunlight or supplemental lighting. (reddit.com)
Seasonal and Climate Notes
Dill grows best in cool, mild temperatures. Early spring planting is ideal, or in warmer regions, a fall planting can work well. Containers allow gardeners to move plants indoors to avoid frost or extreme heat, extending the growing season. (florathen.com)
Authoritative Sources
For more guidance, consult these reliable resources:
- Royal Horticultural Society (RHS) – Dill Guide: Comprehensive care and harvest advice. (rhs.org.uk)
- University of Minnesota Extension – Growing Dill: Soil, watering, and spacing tips. (extension.umn.edu)
- Old Farmer’s Almanac – Dill Planting Tips: Best sowing practices and harvest timing. (almanac.com)
- GardenCare.org – Dill Care and Maintenance: Pest management, bolting prevention, and growing strategies. (gardencare.org)
Conclusion
With the right care, you can grow and harvest dill at home in about one month. Focus on selecting fertile soil, providing ample sunlight, watering consistently, spacing seedlings correctly, and harvesting smartly. Regular maintenance and light feeding keep plants productive and flavorful.
Whether you’re growing dill in containers, raised beds, or a backyard garden, these easy and effective tips help you enjoy fresh, aromatic dill leaves sooner than you thought possible. Start planting today and experience the satisfaction of homegrown herbs enhancing your favorite dishes!