Bean sprouts have long been a staple in Asian cuisines, adding crunch and nutrition to salads, stir-fries, soups, and sandwiches. They are rich in protein, vitamins, and antioxidants, making them an excellent addition to a healthy diet. While store-bought sprouts are convenient, they often have a short shelf life, and concerns over hygiene or foodborne illnesses are common. (realsimple.com)
In response, home gardeners and kitchen enthusiasts are turning to growing their own bean sprouts. The process is quick, inexpensive, and can be done in any kitchen, requiring minimal tools and space. Modern techniques have made sprouting even simpler, allowing beginners to achieve fresh, crisp sprouts in 3–5 days without special equipment. (maheshlunchhome.org)
The Latest Trends in Home Sprouting
Although sprouting has been practiced for generations, recent innovations focus on ease, safety, and sustainability. Some notable trends include:
Eco-Friendly Bottle Sprouters
Repurposing plastic bottles into sprouters has become popular. By cutting and preparing bottles, gardeners can create transparent, self-contained sprouting systems that allow for excellent airflow and drainage. This method is not only economical but also reduces plastic waste. (maheshlunchhome.org)
Focus on Food Safety
Sprouts are grown in warm, moist conditions, which can sometimes encourage bacterial growth. Modern guides emphasize thorough rinsing, proper drainage, and clean containers to ensure safe consumption. Rinsing twice daily and using filtered water are simple practices that greatly improve safety and quality. (taim.io)
Simple, Daily-Friendly Routines
The latest home sprouting guides highlight efficient daily routines: consistent rinsing, careful draining, and light maintenance that fit easily into a kitchen schedule. Even small countertop spaces can accommodate a sprouting setup. (harrisseeds.com)
Step-by-Step Guide: Growing Bean Sprouts at Home
Here’s a practical guide for anyone wanting quick and easy bean sprouts:
1. Choose the Right Seeds
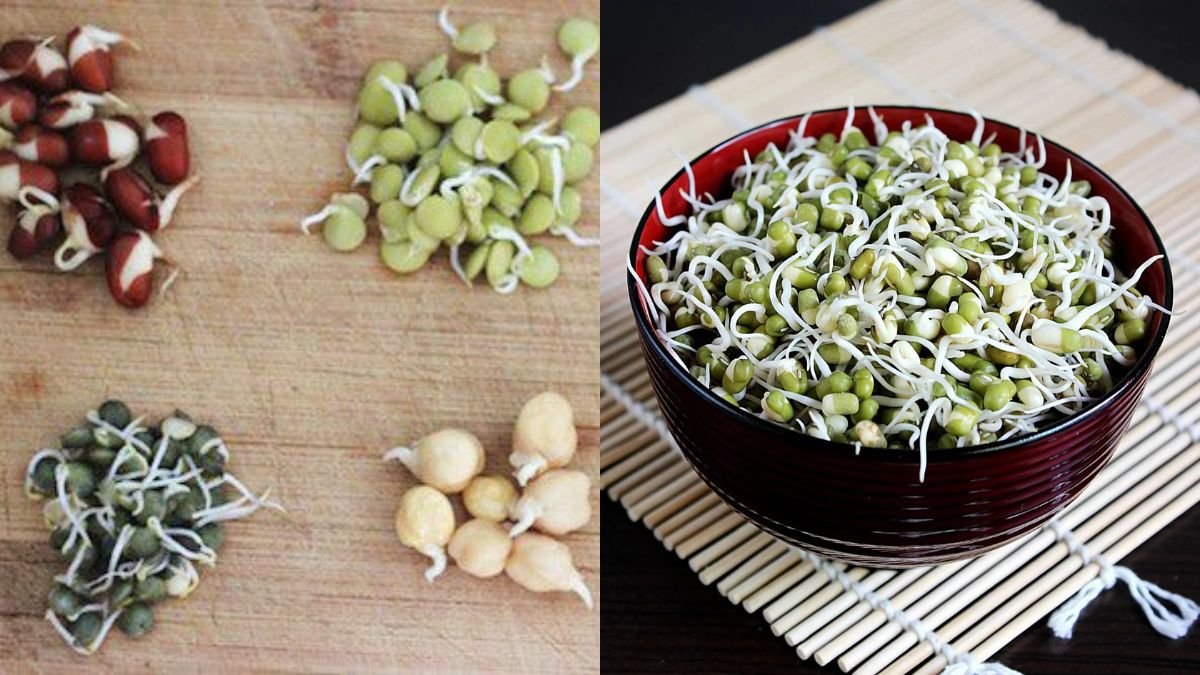
Select bean seeds intended for sprouting, such as mung beans, lentils, or chickpeas. Avoid seeds treated with chemicals or fungicides, which are unsuitable for consumption. Start with 2–3 tablespoons of seeds for a small batch. (taim.io)
2. Soak the Seeds
Place seeds in a clean jar or container and cover them with water. Let them soak for 8–12 hours (overnight is ideal). Soaking softens the seed coat, triggering germination and shortening the growth period. (taim.io)
3. Rinse and Drain Twice Daily
After soaking, drain the water completely. Rinse the seeds thoroughly with fresh, cool water, and drain again. Keeping the seeds moist but not waterlogged is critical. Place the jar at a slight angle to allow excess water to escape. Repeat this rinsing twice daily — once in the morning and once in the evening. Proper rinsing ensures crisp sprouts and prevents mold growth. (harrisseeds.com)
4. Provide Optimal Environment
Sprouts grow best in cool, dim conditions. A kitchen cabinet, countertop, or any area away from direct sunlight works well. Maintaining a temperature of 18–24°C (65–75°F) supports steady germination. Sunlight at this stage is unnecessary and can lead to bitterness or discoloration. (maheshlunchhome.org)
5. Harvest in 3–5 Days
Depending on the type of bean, sprouts are ready in 3–5 days. Mung beans generally reach 1–2 inches in length in about 4 days, while lentils or chickpeas may take slightly longer. Harvest by giving them a final rinse, then drain thoroughly. Store in a clean, airtight container in the refrigerator for up to a week. (taim.io)
Tips for Success
- Maintain Cleanliness: Wash hands and containers thoroughly before sprouting to prevent contamination.
- Avoid Overcrowding: Use appropriate-sized jars or multiple containers to ensure proper airflow.
- Light After Growth: While sprouts need darkness initially, short exposure to indirect light after germination can improve color and nutrient profile.
Following these tips ensures healthy, crisp, and safe sprouts every batch. (taim.io)
Why Home-Grown Bean Sprouts Are Worth It
- Freshness & Flavor: Home-grown sprouts are tender and flavorful, often superior to store-bought versions.
- Cost-Effective: Seeds are inexpensive and yield multiple sprouting batches.
- Nutritional Value: Sprouting increases vitamin and mineral availability, enhancing digestibility. (ynetnews.com)
- Control Over Food Safety: Growing at home gives complete control over hygiene and water quality.
Creative Uses for Bean Sprouts
- Salads: Add a crunchy texture and nutritional boost.
- Stir-Fries: Quickly sauté with vegetables and sauces.
- Sandwiches & Wraps: Fresh sprouts add flavor and crunch.
- Soups: Use as garnish or mix directly for extra nutrients.
Frequent harvesting and rotation of sprouting batches allow continuous supply of fresh sprouts throughout the week.
Authoritative Sources
For more guidance on home sprouting:
- Harris Seeds – How to Grow Sprouts at Home: Practical step-by-step instructions for beginners. (harrisseeds.com)
- Taim.io – Bean Sprouts Growing Guide: Detailed overview of germination, rinsing routines, and harvest timing. (taim.io)
- Mahe’s Lunch Home – DIY Bottle Sprouters: Eco-friendly and beginner-friendly sprouting methods. (maheshlunchhome.org)
Final Thoughts
Discovering a quick and easy method to grow bean sprouts at home brings freshness, nutrition, and sustainability into your kitchen. With a few simple steps, you can enjoy crunchy, healthy sprouts in as little as 3–5 days.
Thanks to recent innovations like bottle sprouters and daily-friendly routines, sprouting has never been more accessible. This method is perfect for anyone wanting fresh, affordable, and safe sprouts without the need for a garden or special equipment. Start today, and enjoy the satisfaction of home-grown sprouts — fast, easy, and delicious!